Wednesday, May 20, 2020

FRONT SLIDER 3

Last year a fellow in Oregon added thrust bearings to his front sliders of his F Super to reduce the friction and jerking while steering. I contacted him recently to see how they worked out over time. He gave a glowing report on how well the car now drove.

I got a set of these bearings and I'm installing them. Here are the part numbers. These were ordered from WW Grainger here in the USA.

The late F types have inner dust covers and these bearings are a nice fit on the dust cover above the spring.


Here are all the parts laid out along with the threaded rod parts for assembly. The sleeve at the bottom of the 3/8" rod is needed when the whole assembly finally drops into the bottom lug. The locked nuts are exposed so a wrench can hold the rod and allow the top nut to be loosened.

In Nev Lear's new book he suggests to assemble all the parts and stick the rod through the hole in the top lug and run a nut down to compress the springs in situ.
It is a little awkward because the bottom parts want to press against the lower lug and hang up. A bit of pulling makes it work. Then care is needed when the bottom of the dust cover meets the top of the slider. It is always off to one side.

I found that pulling at the bottom would open a gap between the top lug and the flange of the dust shield. I can stick a screwdriver into that gap and then the parts would line up allowing more action on the nut to compress more.

Finally the bottom nut of the 3/8" rod clears the bottom lug and centers over the hole. Done. Just back off the nut and pull the slotted plate out and install the spindle rod.

It is amazing how  much easier it is to turn the slider now. I think it worth trying on a twin car so I may attempt that too. It really needs something to help the steering.


Wednesday, May 13, 2020

SIDE LIGHTS

I haven't been posting much but every day I've been working on the body. It is ready for the high build primer now. I've drilled new holes for side lights and tail lights and filled old holes. A huge amount of work but making progress.


Friday, April 17, 2020

RADIATOR SUPPORT ROD

I see that most F Types don't have a support rod but I found that one was needed to hold the top of the rad in position. I made a bracket for each end.
I had to raise the scuttle end because it wouldn't clear the fuel tank. I notched the wood strip above the bracket.


ALTERNATOR

I plan to go to 12V electrics and so an alternator is a good way to go. This is a 40 amp unit, has an internal regulator, is cheap to buy and available most everywhere.

Chevy Mini Alternator Denso Street Rod Race 1-Wire 12180

 I made the brackets to fit. This is a borrowed unit I used to do the fit up.


Sunday, April 5, 2020

BODY FITUP

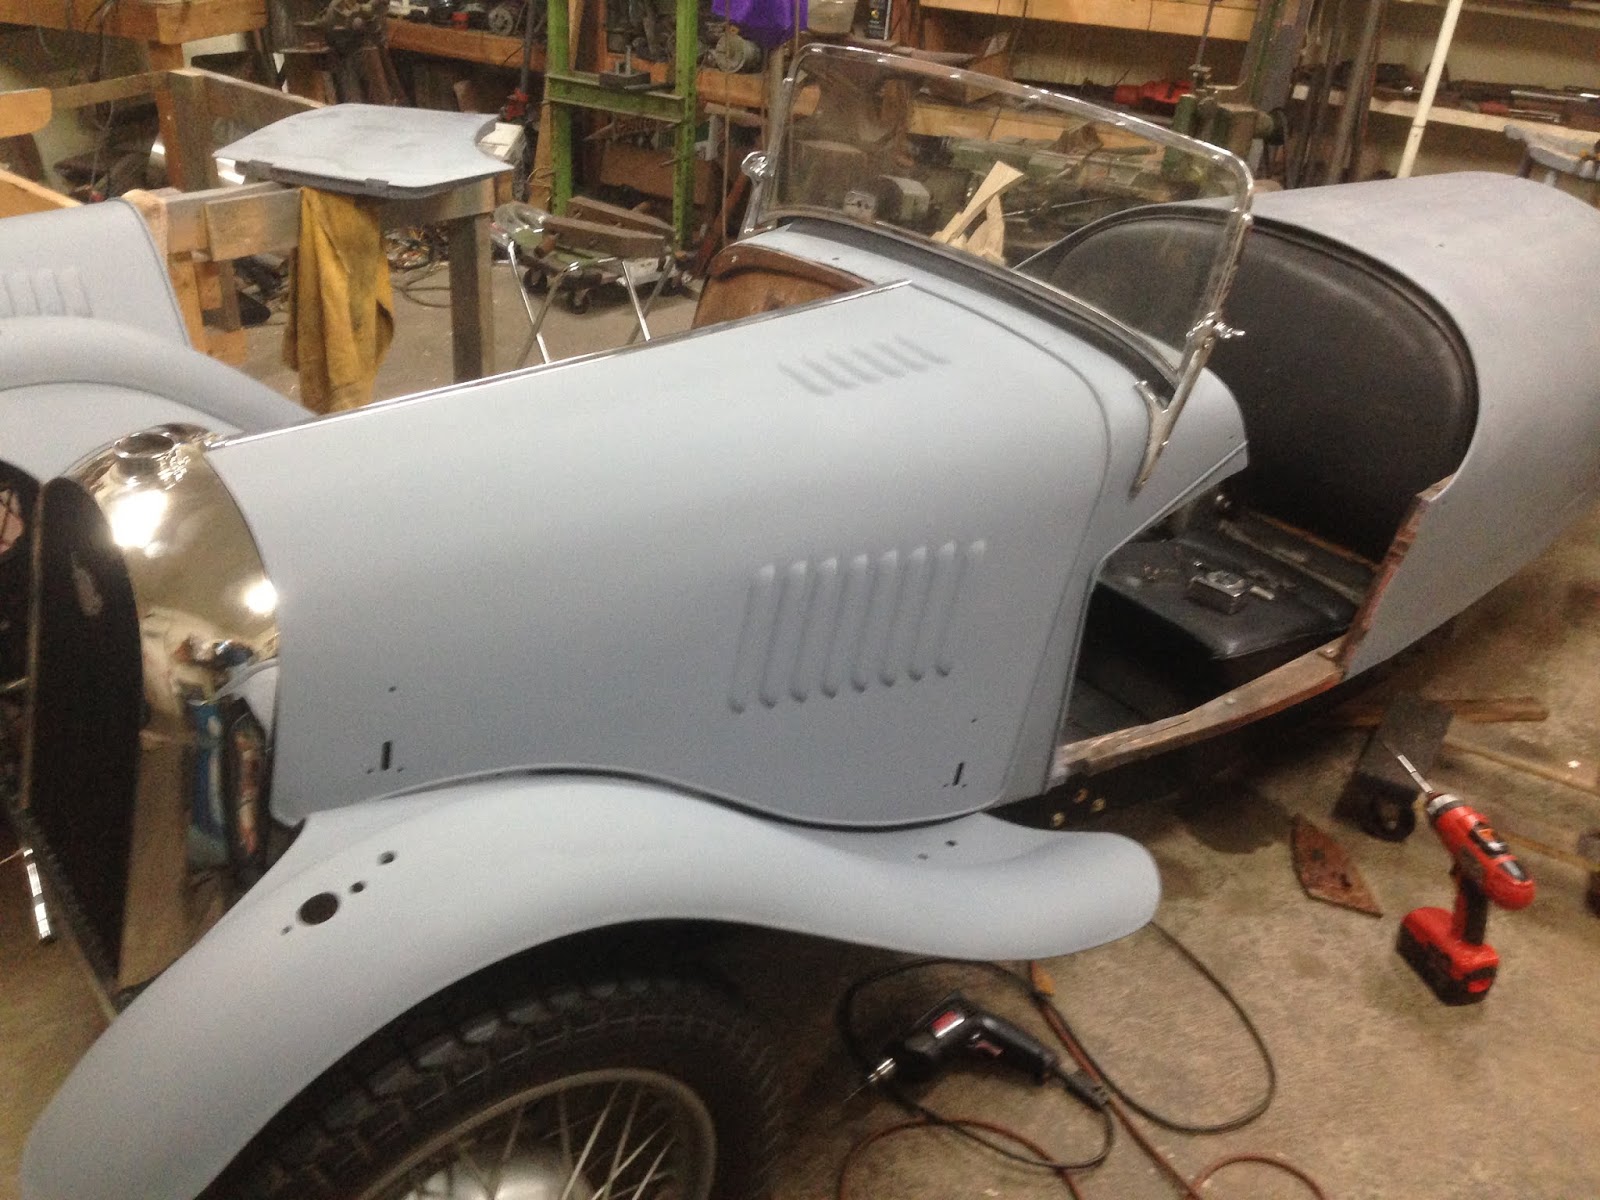
Being a new chassis I felt like I should do a full body fitup and I'm glad I did. I had problems getting the rad in just the right spot to get the bonnets to fit. I made a support rod for the radiator to keep the top in position. I ended up scuffing the primer on the wings doing this so better than having new paint on it. Doing this is a good inspiration to keep me moving on with the body work.


Saturday, March 28, 2020

PRIMER PAINT

A big day today. I finally got to lay down the primer after a couple of months of work. Now for some body filler to smooth over the bumps on the main body. The doors, mudguards and bonnet are all but ready for paint.


Saturday, March 21, 2020

TIRE STORAGE

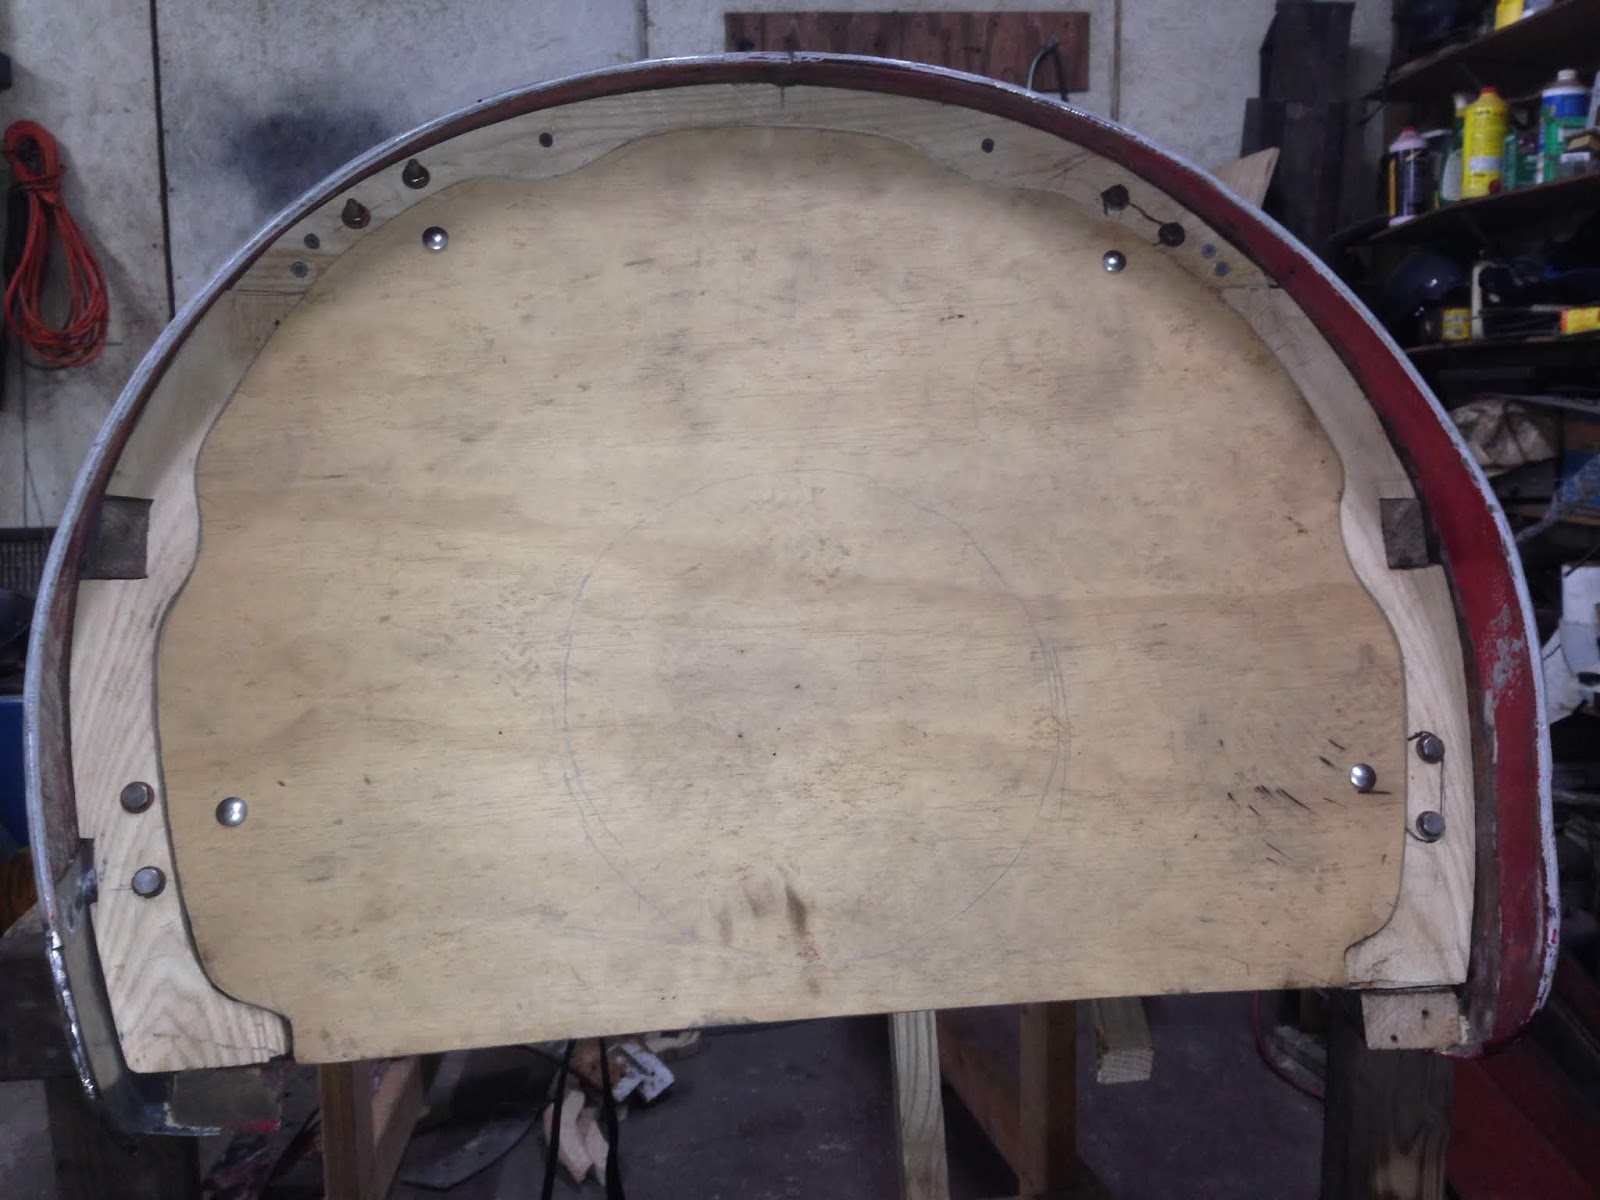
The spare wheel mount was a real eye sore and I knew it would bug every time I took the tire off. It was a sloppy job, not per original design and was farther forward by 1/2" on one side.

Only one thing to do since there is nothing else we are allowed to do these days. This was a tricky piece of work since it had to be fitted with the skin in place. It took me 3 tries to get it done. I had to buy a 10 foot piece of Ash so that didn't matter. Not being the greatest woodworker the joints aren't as tight as I would have liked but a bit of wood filler hides a lot of sin. I did get a good fit against the skin though after a lot of plane work. I still have to mount the  bracket for the wheel.