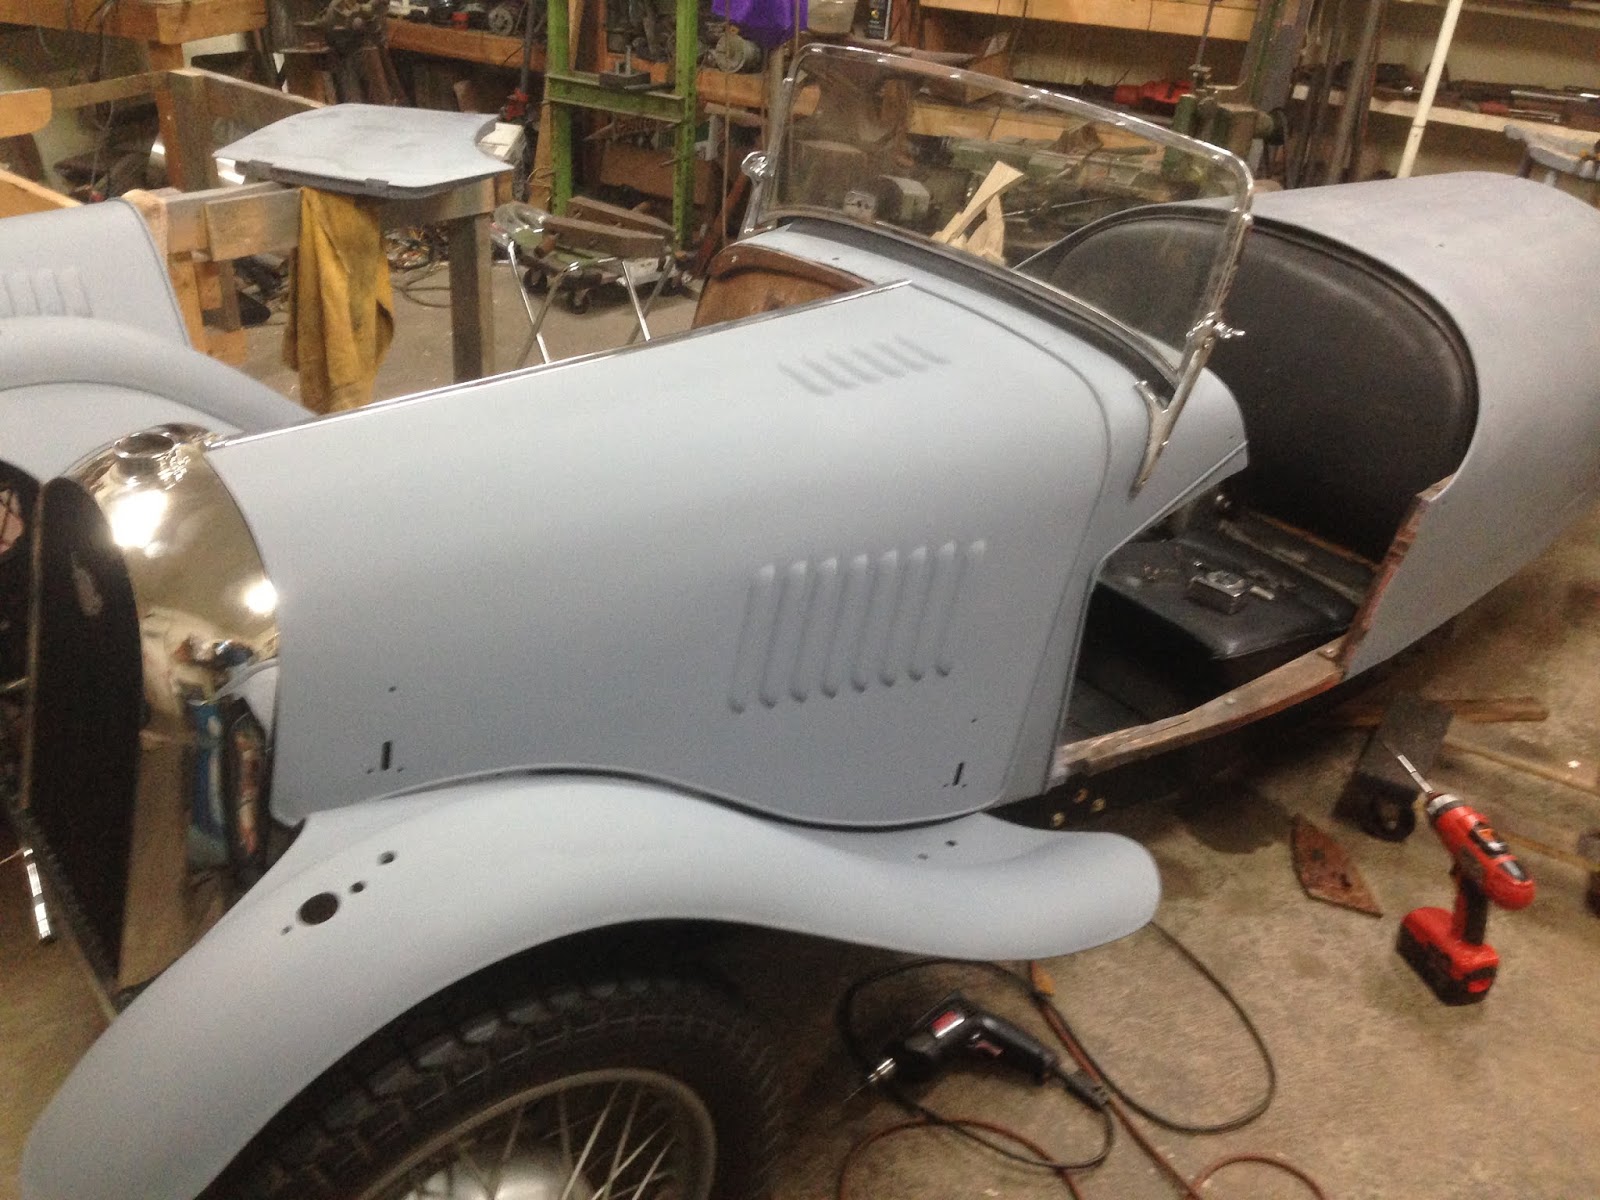
Being a new chassis I felt like I should do a full body fitup and I'm glad I did. I had problems getting the rad in just the right spot to get the bonnets to fit. I made a support rod for the radiator to keep the top in position. I ended up scuffing the primer on the wings doing this so better than having new paint on it. Doing this is a good inspiration to keep me moving on with the body work.
The Begining This car was bought, some years ago, from Gullwing Motors in New York. It was an older restoration at that time, as far as I can ascertain. The car was found in a barn in north Florida ten or more years ago and went through two avid Morgan owners, being dismantled by the second one and then passed on to me. Much work had been done including a new chassis as well as quite a collection of new parts. Here is what I bought.
Sunday, April 5, 2020
Saturday, March 28, 2020
PRIMER PAINT
A big day today. I finally got to lay down the primer after a couple of months of work. Now for some body filler to smooth over the bumps on the main body. The doors, mudguards and bonnet are all but ready for paint.
Saturday, March 21, 2020
TIRE STORAGE
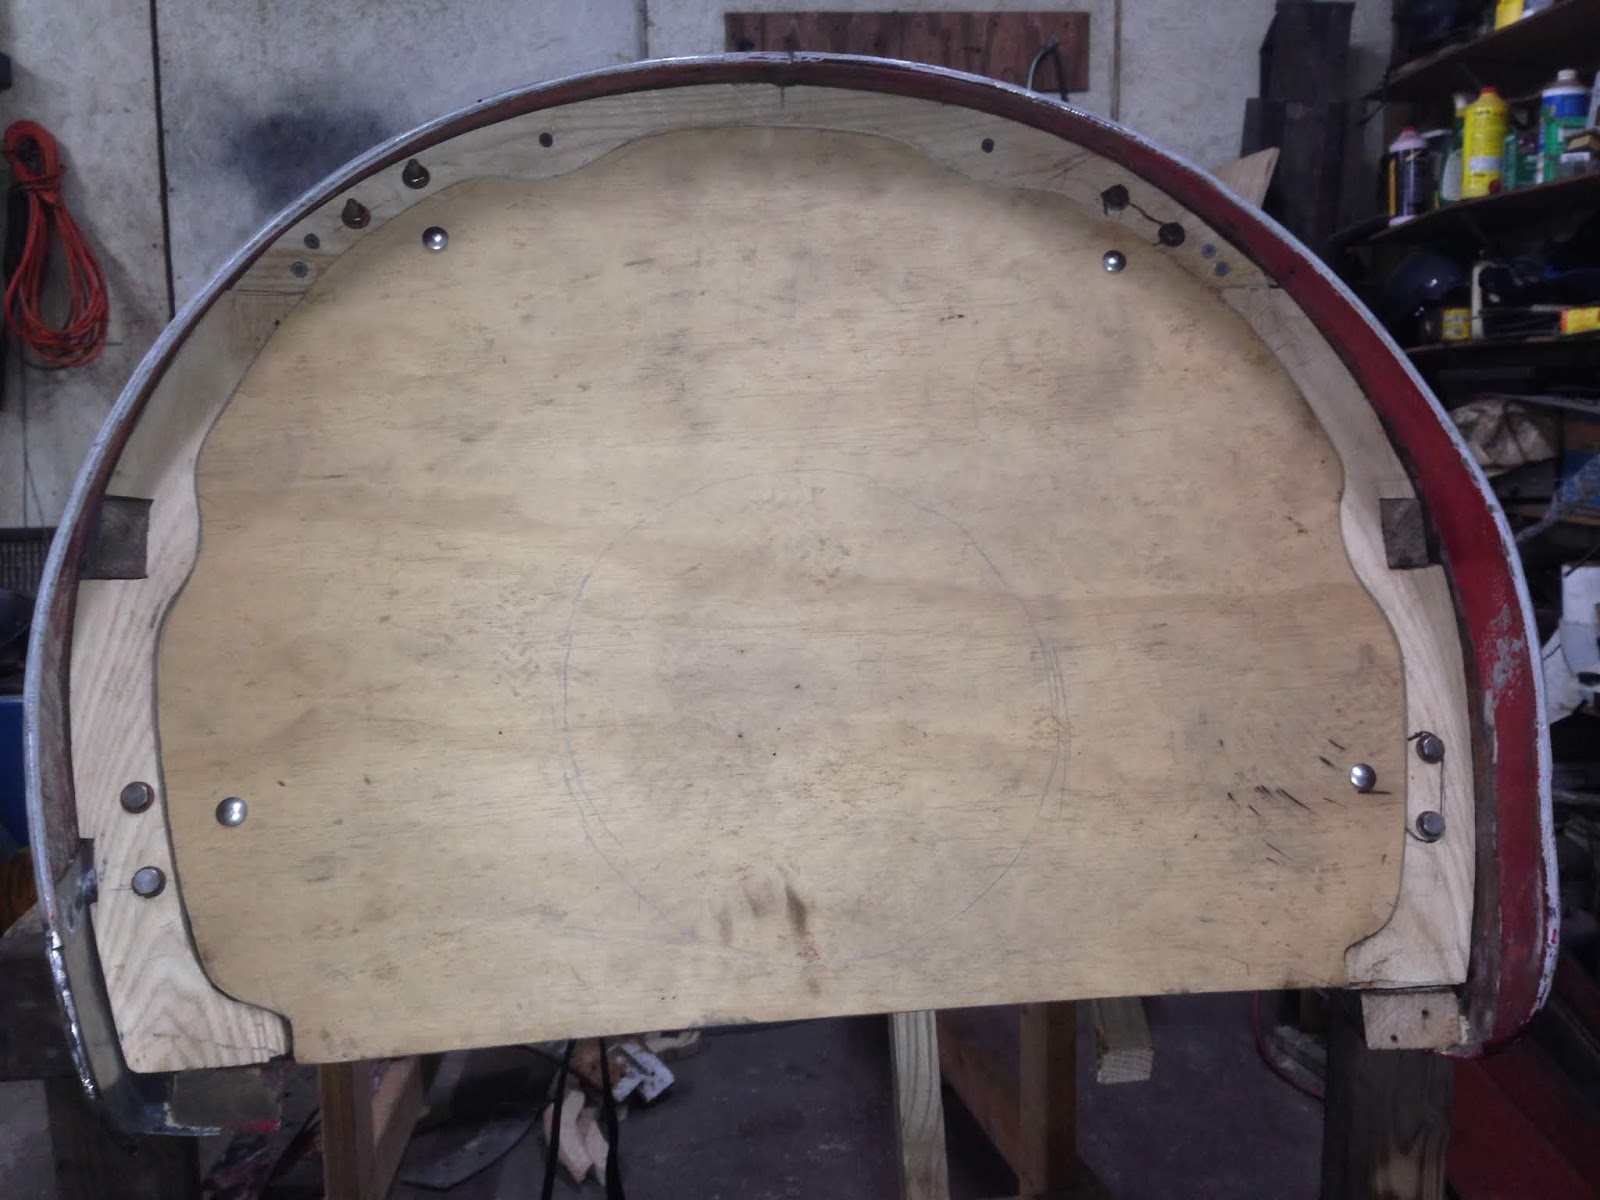
The spare wheel mount was a real eye sore and I knew it would bug every time I took the tire off. It was a sloppy job, not per original design and was farther forward by 1/2" on one side.
Only one thing to do since there is nothing else we are allowed to do these days. This was a tricky piece of work since it had to be fitted with the skin in place. It took me 3 tries to get it done. I had to buy a 10 foot piece of Ash so that didn't matter. Not being the greatest woodworker the joints aren't as tight as I would have liked but a bit of wood filler hides a lot of sin. I did get a good fit against the skin though after a lot of plane work. I still have to mount the bracket for the wheel.
Friday, March 6, 2020
BODY WORK 4
I got the new panel welded in this week but had problems welding. The sheet metal is thinner than the new piece and was difficult to weld. Some warping occurred but I was able to straighten it out.
I've also been tapping out small dents after cleaning out the filler that was done before. Filler will be needed to finish it all out smooth.
Tuesday, February 25, 2020
DOOR GUARD
That's what I call it. It's that little rod that is nailed to the body by the leading edge of the door to keep rain out. I guess it helps?? On the near side it had been replaced with the wrong size rod and was broken. The diameter should be 7/32" which is not available at any of the local sources so I ordered one in. Removing the one on the off side, for body painting, I see that it is not just a straight hole (1/16"). There is a small counter bore for the nail head to sit flush. Small detail but important, I think.
Friday, February 21, 2020
WIRING
After cutting out the body section I found this bit of cloth cover wire. I can only think this has to be an original wire that fell between the bottom sill plate and the body metal. I have read, on the forum, that the F Types didn't have cloth covered wire but there is some dispute to this claim. I'll look further into that. The wire color code chart I have says the tail light wire is yellow/blue. The car was re-wired at some point and what a disaster it was.
BODY WORK 3
With more stripping, sand blasting and sanding I'm making progress with the body work. Today I cut out the worst of the sheetmetal along the lower left side of the barrel back. This side must have been outside the shed roof when the car was taken off the road and stored. The right side looks fine. Photo 2 shows the removed piece.
Here is the bonnet. I still have to hand sand around the louvers to finish up. The wings cleaned up nicely and I suspect at least one of them is new. One has a headlamp hole in it but the other does not. The photos I have that were taken prior to disassembly show the lights mounted on the front cross member.
Subscribe to:
Posts (Atom)